If you have any trouble with the operation of the update, please Refresh your Browser or Empty your Browser Cache to be certain you get all the right code.
The Add a Call screen got an update on 21 April 2019 that once again enables users to capture very little information on a contact to add a call but still allows you to go back and update the name and contact information later.
A few new controls on the Add a Call screen will slightly change the way you use it.
- By default, as you begin typing in the Contact field, we are busy searching for a contact(s) that match your typing. If you pick someone, all the information is retrieved for that contact.
- The phone number selector is now one big drop down list. If you integrate with Google Contacts, it can also accommodate any crazy label you put on your numbers. Microsoft isn’t really into the wide-open label thing, so you are stuck with their options by default.
- If you have selected a contact from the drop-down, that big green button becomes an Update Contact button. This allows you to edit the contact information which then flows to all the other calls you might have with that contact and to the address book.
- If you don’t select (or we don’t find anyone) in the search, you are automatically in a mode where you are capturing whatever information you have on the Contact. You don need to have at least one phone number (it can be a fake or placeholder, like 818-555-1212) for it to save. (at least for now. It’s a technical thing)

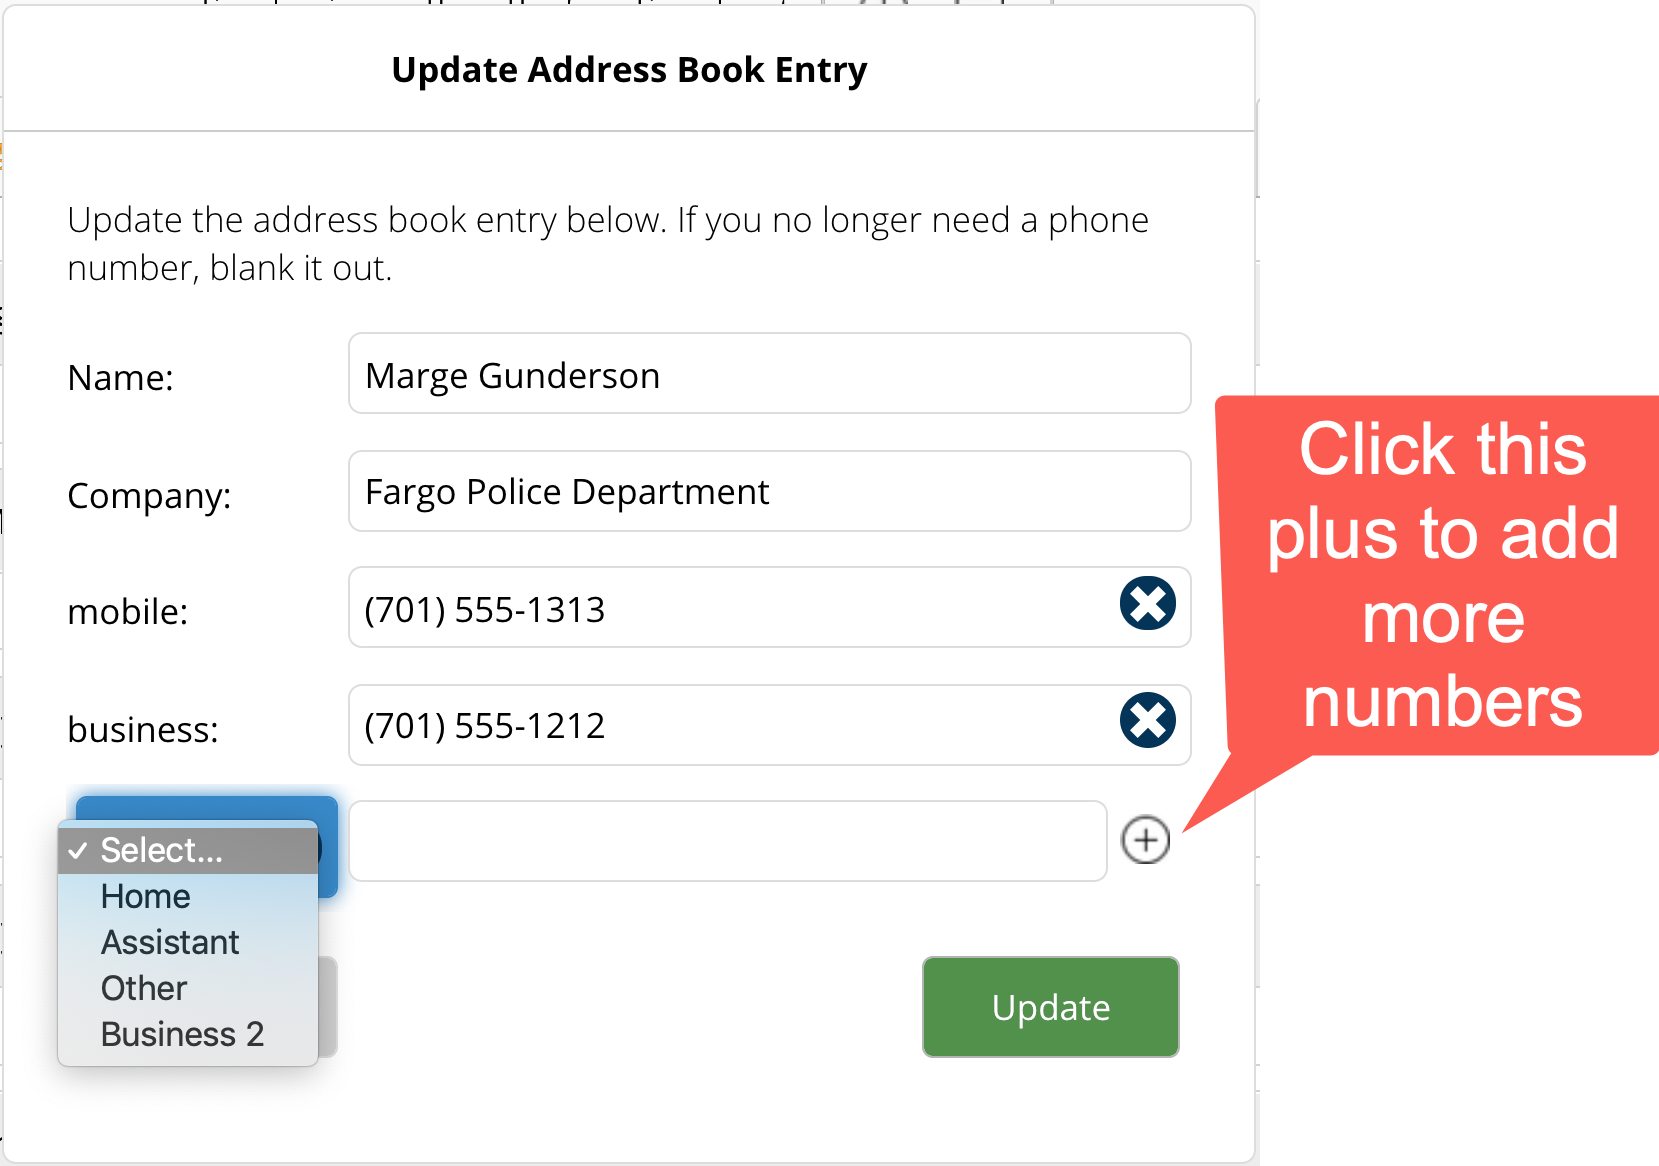
As we’ve said, we recognize that most of our users never made it over to the Address Book page (under the pencil icon in the main menu) so you may not notice the change in the Update Address Book Entry screen but you will see it now on a regular basis. It will pop-up every time you want to edit a contact in CallPlease. If you have the Contact Integration with Office 365 or Google Contacts turned on, you can update contacts in either place and everything will automagically update in seconds.